Pruning in Three Steps
Pruning is an important part of keeping your trees healthy and looking their best, and using proper technique is an integral part of making this happen. A pruning job improperly done can actually harm your tree and leave it vulnerable to disease or decay.
The three-cut pruning method is a great technique to make sure your pruning cuts are clean and where you want them.

Step One
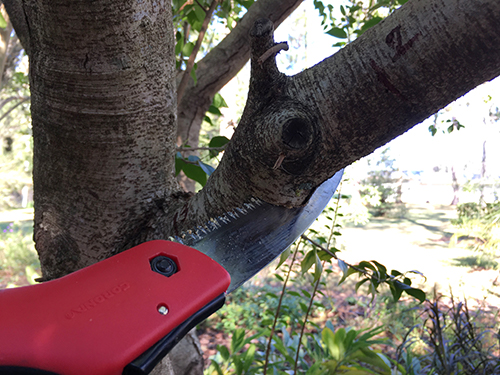
Make a cut on the underside of the branch you are pruning. This cut should be made about 12 inches away from the branch collar and should be a quarter to halfway through the limb. When a heavy limb is only cut from the top, the bark will often peel and tear away from the main branch or tree trunk that is being left. This damage to the tree is avoided by making this initial undercut.
Step Two
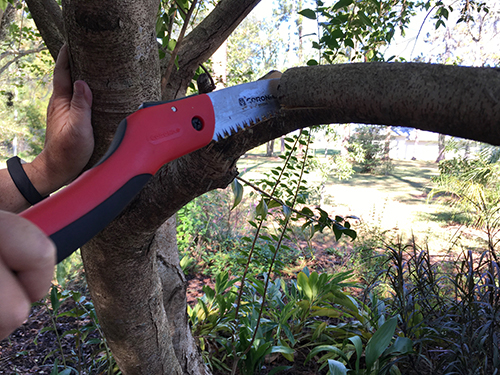
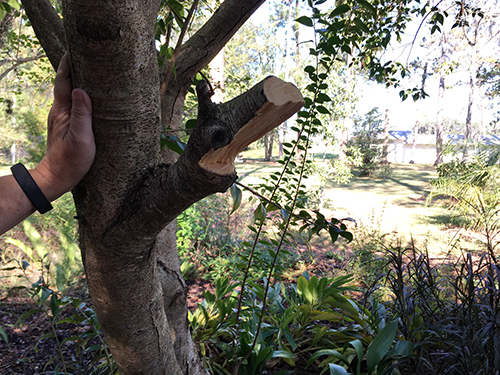
Make a cut on the topside of the branch now. This cut should be about six inches away from your undercut. Keep cutting until the branch begins to snap. It should snap down to your initial cut and fall cleanly away.
Step Three
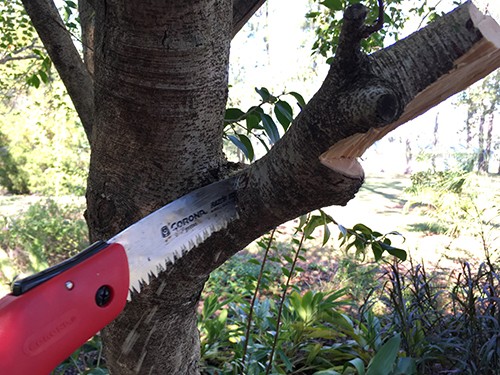
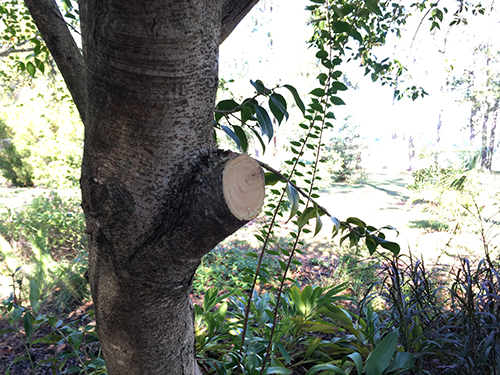
Now that the bulk of the branch’s weight has been removed, you can trim the limb back to the root collar. Avoid making flush cuts as this will cut into the actual growth layer of the tree and prevent proper healing. Be sure that the cut you are making is at a 45 degree angle so that water does not pool on the open wound to the tree, preventing the wound to properly heal.
Pruning Rules
Keep these rules in mind when deciding to prune.
- Keep it healthy. Remove all dead, diseased, or injured branches.
- Keep it strong. Remove or reduce the length of stems that compete with the main leader.
- Keep it uniform. Remove branches that cross or touch each other and any that look out of place.
- Keep it minor. You should only tackle minor pruning tasks in your landscape. Hire an arborist certified by the International Society of Arboriculture to prune trees taller than about 15 feet. Correct pruning makes trees more resistant to hurricane damage.
