DIY Seed Tape
Thinning is an important garden chore that many gardeners loathe doing. If you don't thin though, you find yourself with an overcrowded and unhealthy vegetable garden. Using seed tape is a great way to ensure that your vegetables are properly spaced in the garden. Pre-made seed tape can be expensive or difficult to find, but making your own is so quick and easy, you won't regret going the DIY route!
This project surprised us with how quickly everything went. If you have all of your supplies gathered and ready to go, you could easily prep most of the seeds for your garden in a fraction of the time it would take to sow them directly.
First, gather your supplies. You'll need seeds, toilet paper, "glue," something to measure with, and something to distribute your glue and seeds. For our glue, we mixed flour and water together into a workable paste, we used a yard stick to measure, and for seed distribution, we used an art paint brush.
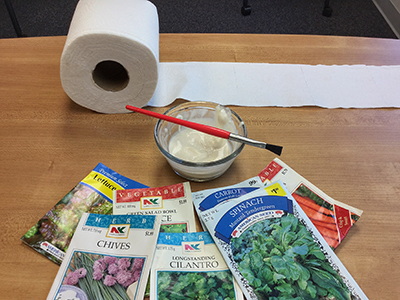
Seed tape supplies: seeds, toilet paper, flour "glue," and a paint brush.
Now that you have your supplies, it's time to get to work. First tear off a strip of toilet paper that is as long as your intended vegetable row; we went with 4 feet. Then check the spacing for your seeds; this information should be found on the back of your seed package. For the Danvers half long carrots we were planting, the spacing was 2 to 3 inches apart. We decided to glue the seeds down every two inches.
Next, using your paintbrush, glue seeds to the toilet paper. We found it worked well to first dip the brush in a bit of the glue and then pick up one or two seeds to apply. Repeat this process until you have gotten to the end of your toilet paper "row."
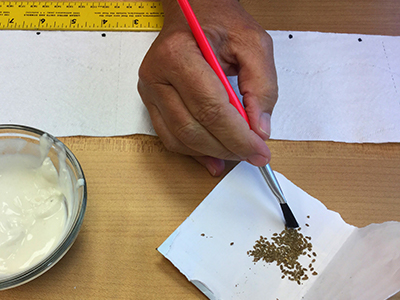
Using the paint brush to place seeds on the toilet paper.
Be sure to label your seed tape. This is super-important, especially if you are making multiple seed tapes for different vegetables.
After everything is glued and labeled, fold the length of toilet paper in half, so that the seeds are safely situated between toilet paper on both sides. Then, roll it up and set it aside until you're ready to plant.
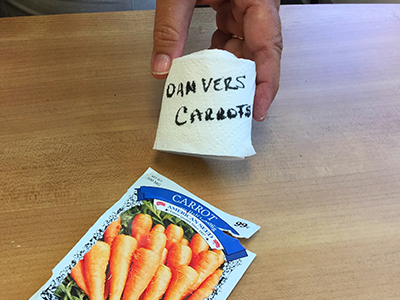
Roll up and label your seed tape for storage.
When you're ready to plant, unroll your seed tape in the garden. Then plant at the recommended depth for your seeds. Give it some water and you should see vegetables sprouting in no time.
A Note on Seeds
Seed tape is great for tiny seeds such as: carrots, lettuces, herbs, and greens (spinach, collards, kale). Medium-sized seeds like watermelon, cucumbers, pumpkins, and squashes may work for this project, but large seeds like beans and corn will be too heavy and bulky for this project.
Additionally, larger seeds are much easier to sow at the correct interval in the garden, removing the need to thin out seedlings later. With smaller seeds it's difficult to maintain the correct interval. That's why seed tape is so helpful. It saves you from having to spend time thinning seedlings later, and makes your seed packages go a lot farther by cutting down on planting excess seeds.